
Overview |
Picking a Topic |
Tech Decisions | Design Decisions
Usability Testing |
What Went Right |
What Went Wrong | Conclusions
Process: Technology Decisions
Having a general idea of the subject matter and desired gameplay, the next
step was to figure out how to build it. Although technologies such as
Director 3D seemed interesting, after some experimentation it became clear
that it was not a rapid development platform. Since a goal of my project was
to also gain exposure to industry-standard game building tools, a
third-party engine seemed the appropriate way to go.
Third-Party Engines
Many commercial games, particularly first-person shooters (FPS) leverage
existing game engines created by other companies to speed up development
time and avoid “re-inventing the wheel”. 3D game engines such as Quake III,
Unreal and Lithtech offer a base of functionality to build from that can
include physics, artificial intelligence, rendering and animations and
dozens of other building blocks from which a developer can build worlds.
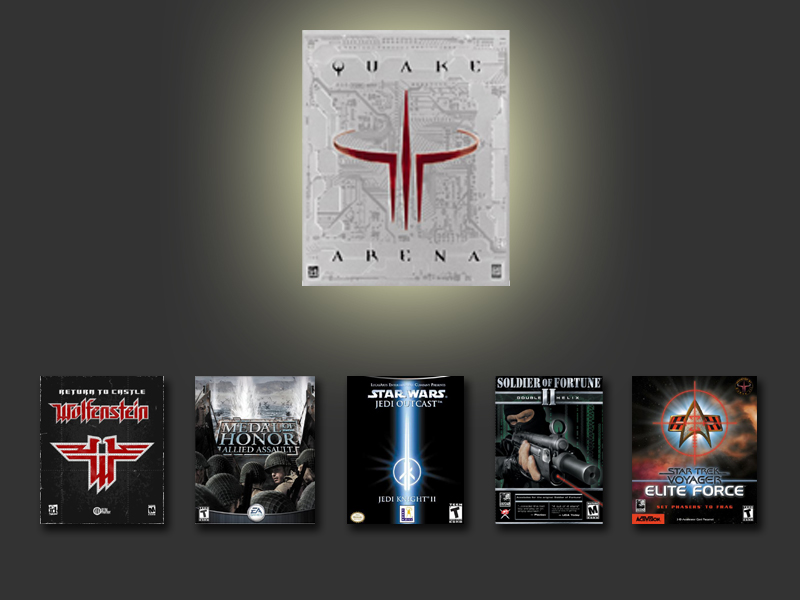
It is not uncommon for a company to release
a game with a flexible engine (id Software with “Quake III”) and
subsequently license that engine for numerous other games. This graphic
shows a family tree of Quake III-based games. Subject matter ranges from
adventures in outer space to storming the beaches at Normandy.
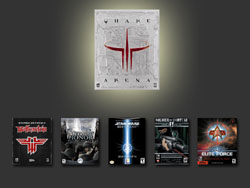
Engines such as Quake III Team Arena spawn
a whole generation of games.
Although these game developers pay hefty
fees and royalties to use and modify the Quake III engine, the general
public is encouraged to experiment with the game engines (both Quake III and
its spin offs) to create custom levels and game modifications (mods). A
significant modding community exists in cyberspace for almost any game that
has an open platform such as Quake III. Private developers and artists use
various software (some of which is provided by the game companies
themselves) to build worlds and adventures that can then be shared with
anyone who owns a copy of the game engine.

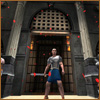
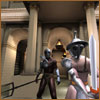
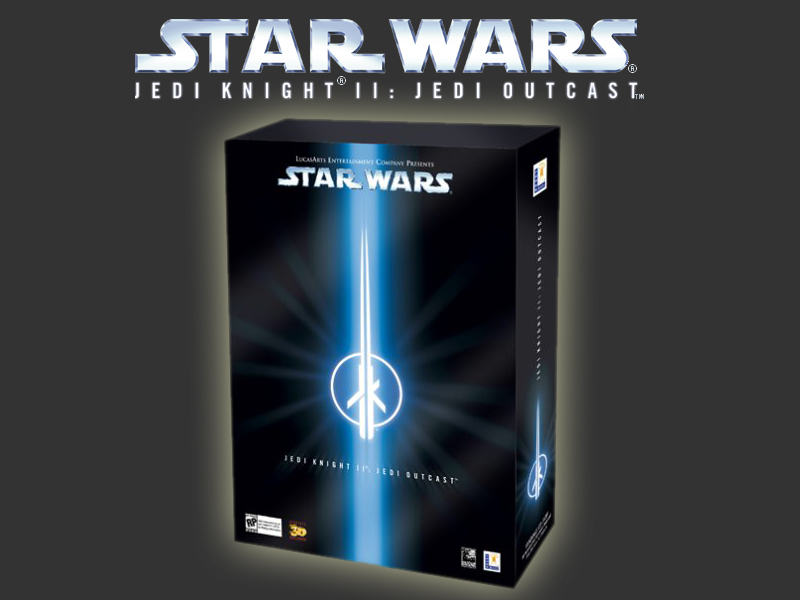
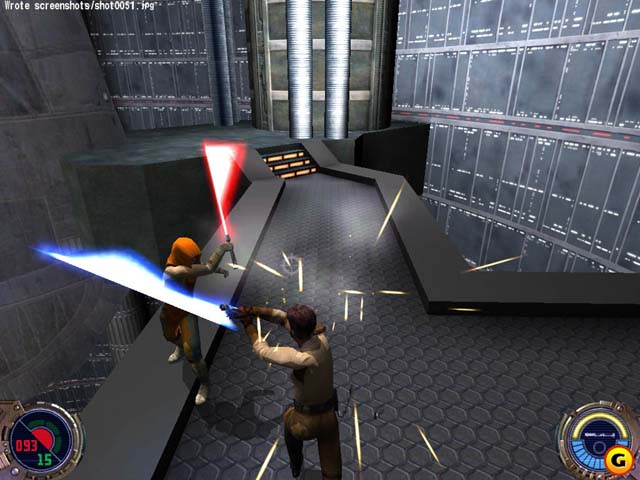
Star Wars: Jedi Knight II: Jedi Outcast
provides the platform for “Colosseum”
After investigating several different game
engines (most of which were variations on the Quake III engine), I found
that the game Jedi Knight II: Jedi Outcast would suit my project best. I
knew from the beginning that I would spend the majority of my time creating
art assets (the characters, props and architecture that populates a game
world) and that I would have very little time to create custom animations
for the swordplay and action I had envisioned. Jedi Outcast already had
animations very similar to ancient swordsmanship that were used during the
lightsaber battle sequences.
 |
 |
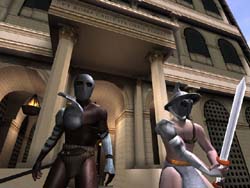 |
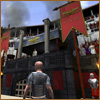
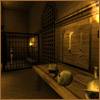
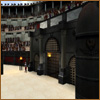
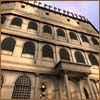
| Before and after: creating
ancient Rome out of a "Star Wars" universe. Also see
screenshots section |
Game Engine: Pros and Cons
Deciding to use the Jedi Outcast engine had some advantages and
disadvantages:
Advantages
- Jedi Outcast had a strong modding and
mapping community (other people who were developingtheir own levels and
modifications) which was essential for figuring out the engine and its
capabilities.
- Since Jedi Outcast is basically a
heavily modified version of Quake III, any tutorials, information or
articles relevant to Quake III editing could easily be applied to Jedi
Outcast editing (and the community support for Quake III and its offspring
is enormous)
- As mentioned before, the lightsaber
battle animations that shipped with Jedi Outcast could be easily used to
simulate gladiatorial battles.
- Levels (maps), which are the 3D
environments where the game takes place, were built with gtkRadiant, a
Quake III editor that had a huge user base by both professionals and
amateurs.
Disadvantages
- Jedi Outcast had not released the single
player source code, which made it impossible to make any serious
modifications to the game apart from creating new maps and swapping assets
(a roman sword for a lightsaber, for example).
- The animations were fixed and could not
be modified. If I wanted a character to hold his sword in one hand while
using his other to hold a sheild, I was out of luck.
- Compared to Quake III and some other
games, Jedi Outcast may have a smaller installed base of users. That
limits the number of people in the world who will ultimately be able to
play my finished game (unless they go and shell out $50 for a copy of Jedi
Outcast).
Other Tools and Technologies
Once I had decided on an appropriate game engine, I had to find out how to
create the props, characters and architecture to populate the game world I
wanted to create. Following is a comprehensive list of tools that were
required to complete the project:
GtkRadiant
gtkRadiant is a level editor for Quake III-based games such as Jedi Outcast,
Star Trek: Elite Force and Return to Castle Wolfenstein. Essentially it
slightly resembles a rudimentary 3D modeling program. To create
architecture, you drag out “brushes” (kind of like polygons) and patches
(kind of like curved meshes) and then texture them with bitmapped images to
create the illusion of detail. The map is then compiled and can be loaded up
and navigated in-game.
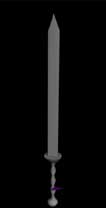
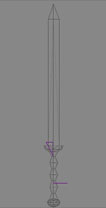
3DS Max
An industry standard 3D modeling program, 3DS Max was used to create all the
character models (people) that would populate the game. These included the
main character, enemies and friends. 3DS Max was also used to model the
weapons and other miscellaneous props.
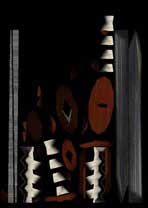
Photoshop and Illustrator
Real-time 3D games require that overhead (meaning level of detail) be kept
to an absolute minimum. Buildings and people are made up of polygons, and
the engine can only draw so many polygons on the screen at one time. Because
of this, game creators keep polygons to a minimum, and make up for it by
“painting” the low-polygon models with two-dimensional detail. Photoshop,
Illustrator and traditional drawing skills are essential for creating these
texture maps.
 |
 |
 |
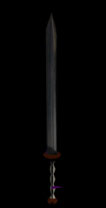 |
| Model is created |
UVW mapping |
Unwrapping and painting |
Final prop ready |
Deep Paint 3D
This is a program I found very useful for certain texturing tasks (but not
all). It allows models to be painted within the actual 3D environment, and
more importantly it has a handy direct functionality with Photoshop that
made life much easier.
ICARUS Scripting
Once the characters and props are built with 3DS Max, they can be stuck into
your environments and architecture (maps) that you have built in gtkRadiant.
Then what? Well, it wouldn’t be a very exciting game if everyone just stood
around looking pretty, so that’s where scripting comes in. ICARUS allows
developers to script the events that make a game interesting. With ICARUS,
you attach scripts to entities and triggers to make things happen at a given
point in the game (example: I walk through the door, an old woman approaches
me and starts talking, I push the bookcase to the left, a secret passage
opens which causes a piece of music to play, etc., etc.)
PAK Files – Distributing your game
When you want to test your creation, you take all your assets (maps, models,
textures, scripts, sound effects, etc.) and package them up in a PAK file.
Essentially a glorified ZIP archive, PAK files are placed in special folders
in your game directory. They can then be played by accessing a special menu
from within the Jedi Outcast game. These PAK files essentially tell the
engine to use your custom assets instead of its own. When you launch your
mod, Luke Skywalker with a blaster will be replaced by Joe Schmoe with a
machine gun.
Jedi Outcast Toolset
Raven, the company that developed Jedi Outcast, provided a series of
toolkits for the modding and mapping communities. Several tools included in
these toolkits are worth mentioning:
Assimilate: Used to compile your character
models for use in-game
BehavEd: A program used to create and edit
ICARUS scripts.
ROQ: A command line utility used to compile
in-game movies (such as pre-rendered cutscenes). The resulting files are
called ROQ files and can be triggered in-game through scripting (or can also
show up on special textures called shaders).
Documentation: Several key documents that
assist with modeling and mapping.
<< previous section (Picking a Topic) |
main |
next section (Design Decisions) >>
|